Stringr provides a capability to print racquet tags and throat stickers for every racquet in an order with one click. A few setup steps are required before we get printing.
The Print labels button will be disabled until the setup steps are complete.
To print labels on a local printer, you'll need a Windows-based computer that is connected to both the printer and the Internet.
Install PrintNode client on the selected computer.
Once the PrintNode client is installed, you will be asked to log in. Reach out to us to get your username and password.
You're all set! Remember to keep your computer online, PrintNode client running, and printers connected during the working hours of your location. The PrintNode client will automatically look for connected printers and make them available for Stringr to print on.
Stringr racquet tags and throat stickers are designed for a specific paper size suitable for any tennis racquet. The paper sizes need to be configured on every newly connected computer before the first printjob. You can watch a video or follow the instructions below.
Go to Devices and Printers settings section on your computer.
Select the label printer you are planning to use by clicking it once.
Go to Print server properties by clicking the button that appeared at the top of the window.
Select the Forms tab in the Print Server Properties window.
Check the box next to Create a new form - we will be creating a new paper size.
In the Form name field, enter stringr_tape.
Continue to the Form description section and select Metric units.
Fill in the fields as follows:
Width | 1.19cm |
Height | 6.99cm |
Left margin | 0.2cm |
Right margin | 0.2cm |
Click Save
Back in the Devices and Printers page, right-click the selected printer.
Go to the Printing preferences of the label printer.
Click on Advanced.
In the Paper size field, select 30323 Shipping.
Click OK to close the two pop-up windows.
Go to the Printing preferences of the tape printer.
Click on Advanced.
Update the following fields:
Paper size | stringr_tape |
Label width | 12 mm (1/2") |
Label alignment | Left Aligned |
Click OK to close the two pop-up windows.
If the PrintNode client was running during the paper size setup, a restart of the client is required.
Find the PrintNode icon in the taskbar.
Right-click the PrintNode icon.
Select Disconnect.
Right-click the PrintNode icon again.
Select Quit.
Start the PrintNode client.
Stringr allows admins to set two levels of printer selections: tournament-level and personal.
Select Events from the main menu.
Click Manage next to the tournament you are setting up.
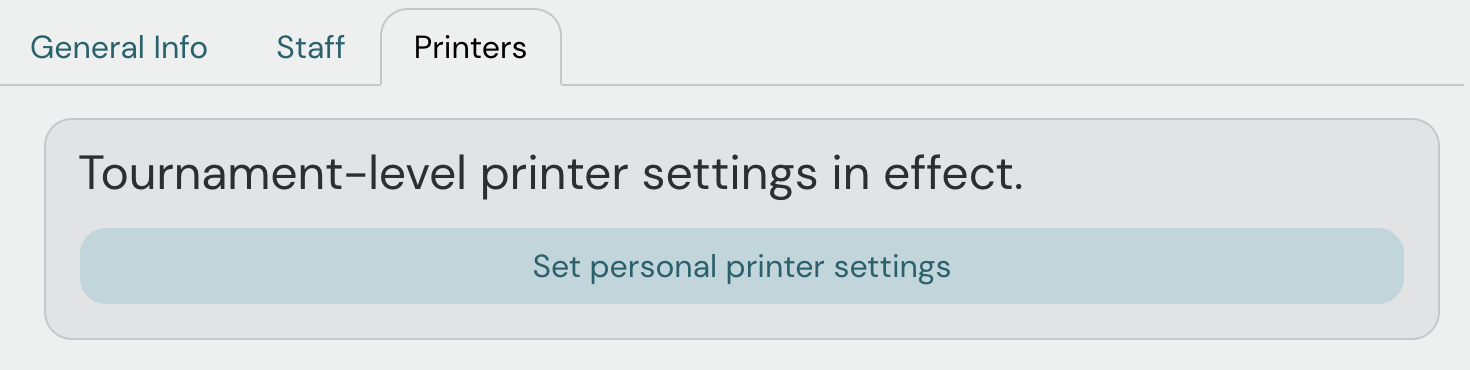
Go to the Printers tab.
Keep an eye on the banner on top indicating what level of settings are in effect for you.
Tounament-level printer selections are visible to all admins working in a tournament. This means that all printjobs from orders under that tournament will be sent to the same set of printers (unless an admin chooses to set a personal printer selection).
Tournament-level printer selections are best for smaller events with fewer admins.
Personal printer selections are linked to a specific admin account and a specific tournament. Personal selections take precedence over tournament-level selections, so any printjobs requested by a specific admin will be sent to their respective printers.
This approach can be useful in larger tournaments where several admins may be entering multiple customers' orders at the same time.
First, you will need to select the computer your printers are connected to by the computer name.
Video: how to find computer name on Windows
Once you select a computer, the Racquet tag printer and Throat sticker printer dropdowns will contain available printers connected only to the selected computer.
Select the printers respectively and click Save.
